Ruby - Ghost Theme Documentation
Table of Contents
- Installation
- Related Posts
- Disqus Comment
- Copyright Text
- Social Links
- Widgets
- Hosting Fonts Locally
- Hosting jQuery Locally
Installation
When you purchase a theme from IVEEL, you will have an access to the theme directly on your account page. Once you click the download link, an installable theme file will be downloaded to your computer.
- Navigate to
Settings > Designon your Ghost Admin (yourblog.com/ghost).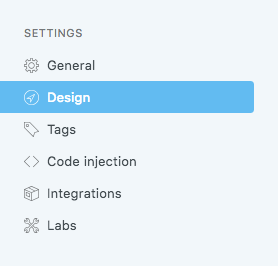
- Click
Upload a themeand select the downloaded installable theme file.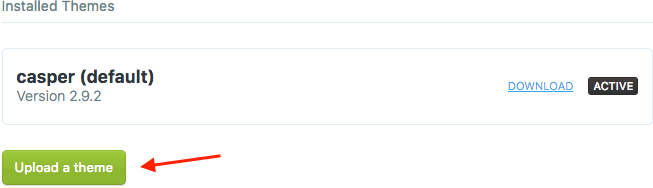
- Click
Activate Nowto start using the theme.
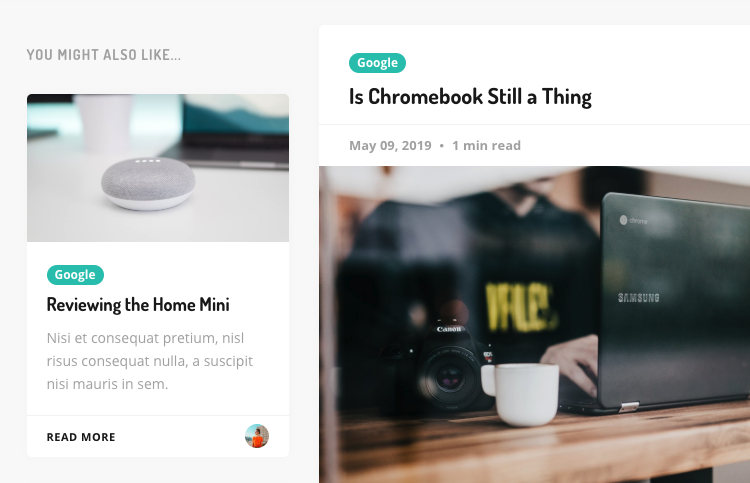
Related Posts
- To add tags to a post, navigate to
Postson your Ghost Admin.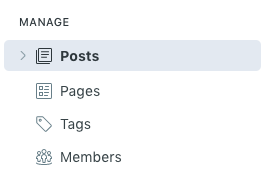
- Select the post and click the settings icon on the top right corner.
- Add the tags in
Tagsfield.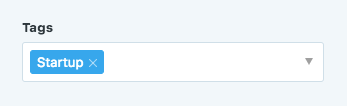
Disqus Comment
The theme has a built-in support for Disqus as a commenting system. Follow only these steps to setup Disqus. You don't need to follow the installation tutorial of Disqus on their site.
- Create a new site on your Disqus dashboard.
- Get your Disqus shortname. Please note that your Disqus shortname will be different than below.
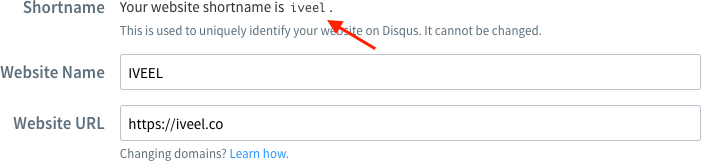
- Insert the Disqus shortname in
partials/config.hbsfile.disqus_shortname: 'your_shortname',
Note: Remember to restart your Ghost when you made a change in hbs file.

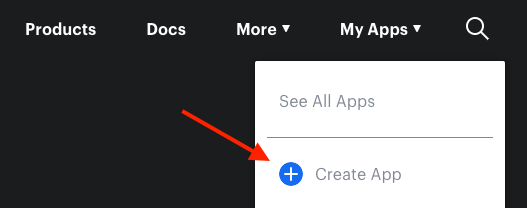
- To show your Instagram feed, you will need an Instagram access token. Navigate to Facebook for Developers , log in with your Facebook credentials and create a new app.
- Enter your app details and click
Create App ID.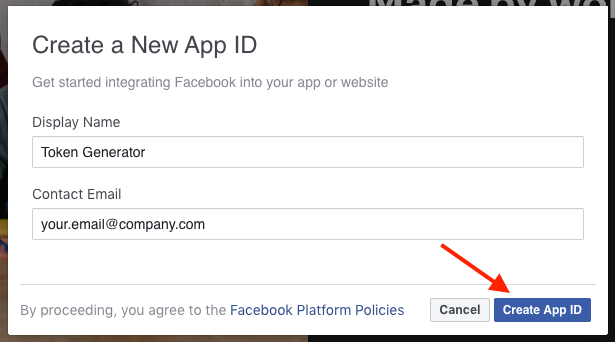
- Then select
Instagramfrom product list and clickSet Up.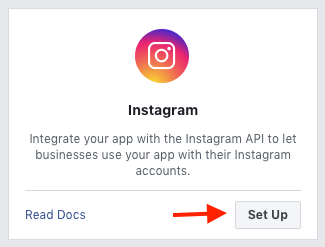
- Navigate to
Basic Displayon the left sidebar.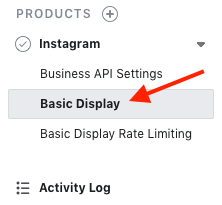
- Scroll to the bottom of the page, click
Create New Appand clickCreate Appagain on the displayed modal window.
- Scroll through the sections until you find
User Token Generatorand clickAdd or Remove Instagram Testers.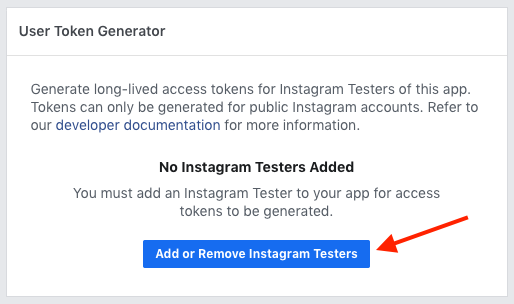
- Click
Add Instagram Testers, enter your Instagram username in the modal window and clickSubmit. Please note that your Instagram account must be public.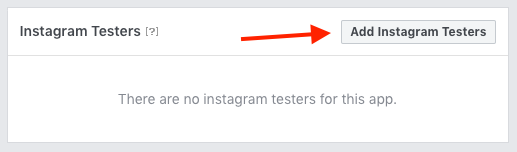
- Navigate to your Instagram account's Apps and Websites section. Select
Tester Invitestab and clickAccepton the new invite.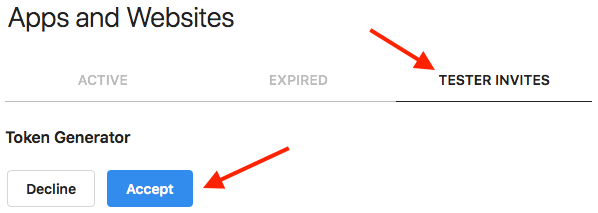
- Navigate to
Basic Display > User Token Generatoragain and clickGenerate Token.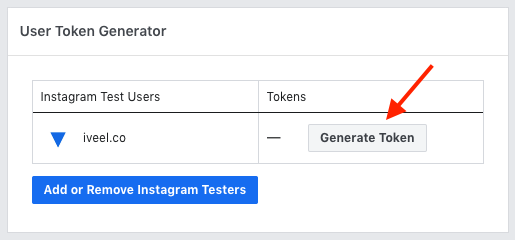
- Log in to your Instagram account, click
Authorize. After the authorization, token generation window will be shown. CheckI Understandand clickCopyto copy your new access token.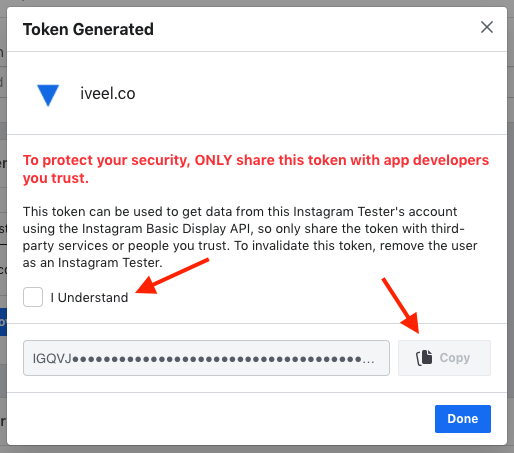
- Insert the generated access token in
partials/config.hbsfile.instagram_token: 'your_token',
Note: Remember to restart your Ghost when you made a change in hbs file.
Copyright Text
You can display some text on your blog's footer section. By default, it displays Powered by Ghost. To change the text, open partials/copyright.hbs file.
copyright: '© All rights reserved.',You can also add some HTML markup.
copyright: '© All rights reserved. <a href="URL_HERE">More info</a>',Note: Remember to restart your Ghost when you made a change in hbs file.
Social Links
Add your social links in partials/config.hbs to display social links on your blog. All links must be full URL.
social_links: {
  facebook: 'https://www.facebook.com/iveelco',
  twitter: 'https://www.twitter.com/iveelco',
  instagram: '',
  dribbble: '',
  behance: '',
  github: '',
  linkedin: '',
  vk: '',
  rss: '',
},
Note: Remember to restart your Ghost when you made a change in hbs file.
Widgets
The widget files are in partials/widgets directory. To change the order the widgets or add/remove widgets, open partials/widgets/widgets.hbs and make the changes.
Note: Remember to restart your Ghost when you made a change in hbs file.
Facebook Widget
Open partials/widgets/widget-facebook.hbs file to setup the widget. The only attribute required to be changed is data-href which is your Facebook page's full URL.
| Attribute | Description |
|---|---|
| data-href | The URL of your Facebook page |
| data-small-header | Make the header smaller |
| data-hide-cover | Hide cover photo in the header |
| data-show-facepile | Show profile photos when friends like the page |
| data-hide-cta | Hide the custom call to action button (if available) |
| data-tabs | Tabs to render. Possible values are none, timeline, events and messages |
Tags Widget
Open partials/widgets/widget-tags.hbs file to setup the widget. By default, this widget displays all the tags with post counts and doesn't require any additional setup. You can add some parameters to customize the default behavior.
To display specific tags:
filter="slug:[tag-1, tag-2, tag-3]"

For example:
{{#get "tags" limit="all" include="count.posts" filter="slug:[business,career]"}}
To order tags by post count:
order="count.posts asc"

For example:
{{#get "tags" limit="all" include="count.posts" order="count.posts asc"}}
Instagram Widget
- First of all, you need an Instagram access token display your Instagram posts. Click here to generate your Instagram access token.
- Open
partials/config.hbsfile and insert the generated access token ininstagram_tokenfield.
Recent Posts Widget
Open partials/widgets/widget-recent.hbs file to setup the widget. By default, the widget displays the most recent 3 posts. You can change this number in limit parameter.
For example:
{{#get "posts" limit="5" include="tags" as |recents|}}Hosting Fonts Locally
- Click here and here to download the font files.
- Create a folder named
fontsinassetsdirectory. - Unzip the downloaded file and copy the files to
assets/fontsfolder. - Open
default.hbsfile and comment out the line (wrap inside{{!-- --}}) which embeds Google Fonts. You can search for "https://fonts.googleapis.com" to be more specific.{{!-- <link rel="stylesheet" href="https://fonts.googleapis.com/css?family=..."> --}} - Add the necessary CSS in
Settings > Code injection > Site Headerfield.@font-face { font-family: 'Open Sans'; font-style: normal; font-weight: 400; src: url('../fonts/open-sans-v17-latin-regular.woff2') format('woff2'), url('../fonts/open-sans-v17-latin-regular.woff') format('woff'); } @font-face { font-family: 'Open Sans'; font-style: italic; font-weight: 400; src: url('../fonts/open-sans-v17-latin-italic.woff2') format('woff2'), url('../fonts/open-sans-v17-latin-italic.woff') format('woff'); } @font-face { font-family: 'Open Sans'; font-style: normal; font-weight: 700; src: url('../fonts/open-sans-v17-latin-700.woff2') format('woff2'), url('../fonts/open-sans-v17-latin-700.woff') format('woff'); } @font-face { font-family: 'Open Sans'; font-style: italic; font-weight: 700; src: url('../fonts/open-sans-v17-latin-700italic.woff2') format('woff2'), url('../fonts/open-sans-v17-latin-700italic.woff') format('woff'); } @font-face { font-family: 'Dosis'; font-style: normal; font-weight: 600; src: url('../fonts/dosis-v17-latin-600.woff2') format('woff2'), url('../fonts/dosis-v17-latin-600.woff') format('woff'); } @font-face { font-family: 'Dosis'; font-style: normal; font-weight: 700; src: url('../fonts/dosis-v17-latin-700.woff2') format('woff2'), url('../fonts/dosis-v17-latin-700.woff') format('woff'); }
Hosting jQuery Locally
- Click here to download the latest version of jQuery.
- Save the file as
jquery.min.jsinassets/jsfolder. - Open
default.hbsfile and search for "https://code.jquery.com" to find the<script>tag which embeds remote jQuery. - Replace the entire
<script>...</script>tag with:<script src="{{asset "js/jquery.min.js"}}"></script>