Edge - Ghost Theme Documentation
Table of Contents
Installation
When you purchase a theme from IVEEL, you will have an access to the theme directly on your account page. Once you click the download link, an installable theme file will be downloaded to your computer.
- Navigate to
Settings > Designon your Ghost Admin (yourblog.com/ghost).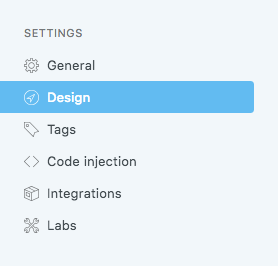
- Click
Upload a themeand select the downloaded installable theme file.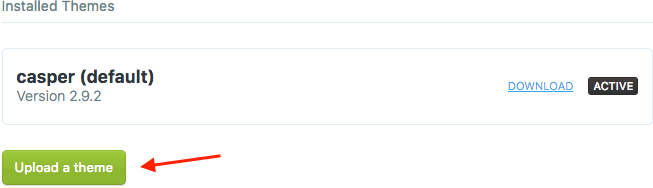
- Click
Activate Nowto start using the theme.
Related Posts
- To add tags to a post, navigate to
Postson your Ghost Admin.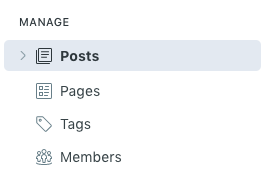
- Select the post and click the settings icon on the top right corner.
- Add the tags in
Tagsfield.
Copyright Text
You can display some text on your blog's footer section. By default, it displays Powered by Ghost. To change the text, open partials/copyright.hbs file.
copyright: '© All rights reserved.',You can also add some HTML markup.
copyright: '© All rights reserved. <a href="URL_HERE">More info</a>',Note: Remember to restart your Ghost when you made a change in hbs file.
Social Links
Add your social links in partials/config.hbs to display social links on your blog. All links must be full URL.
social_links: {
  facebook: 'https://www.facebook.com/iveelco',
  twitter: 'https://www.twitter.com/iveelco',
  instagram: '',
  dribbble: '',
  behance: '',
  github: '',
  linkedin: '',
  vk: '',
  rss: '',
},
Note: Remember to restart your Ghost when you made a change in hbs file.
Hosting Fonts Locally
- Click here to download the font files.
- Create a folder named
fontsinassetsdirectory. - Unzip the downloaded file and copy the files to
assets/fontsfolder. - Open
default.hbsfile and comment out the line (wrap inside{{!-- --}}) which embeds Google Fonts. You can search for "https://fonts.googleapis.com" to be more specific.{{!-- <link rel="stylesheet" href="https://fonts.googleapis.com/css?family=..."> --}} - Add the necessary CSS in
Settings > Code injection > Site Headerfield.@font-face { font-family: 'Rubik'; font-style: normal; font-weight: 400; src: url('../fonts/rubik-v9-latin-regular.woff2') format('woff2'), url('../fonts/rubik-v9-latin-regular.woff') format('woff'); } @font-face { font-family: 'Rubik'; font-style: normal; font-weight: 500; src: url('../fonts/rubik-v9-latin-500.woff2') format('woff2'), url('../fonts/rubik-v9-latin-500.woff') format('woff'); } @font-face { font-family: 'Rubik'; font-style: normal; font-weight: 700; src: url('../fonts/rubik-v9-latin-700.woff2') format('woff2'), url('../fonts/rubik-v9-latin-700.woff') format('woff'); }
Hosting jQuery Locally
- Click here to download the latest version of jQuery.
- Save the file as
jquery.min.jsinassets/jsfolder. - Open
default.hbsfile and search for "https://code.jquery.com" to find the<script>tag which embeds remote jQuery. - Replace the entire
<script>...</script>tag with:<script src="{{asset "js/jquery.min.js"}}"></script>